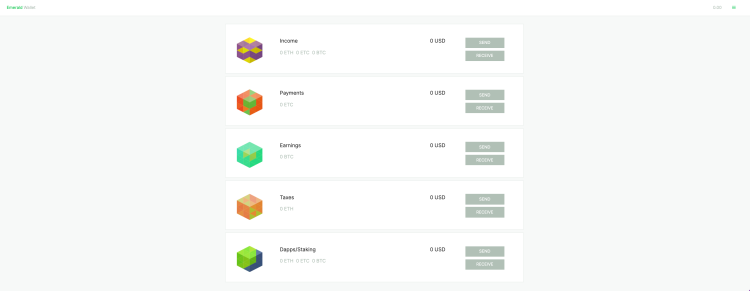
Tutorial: How to create new wallets in Emerald Wallet using the current seed (the same 24 word secret passphrase you already have).
You can watch this tutorial here:
1. First open your Emerald Wallet.

2. When you get to the home, you will see your initial wallet that was created when you started using Emerald.

3. Check your existing wallet for reference.
When you open your existing wallet, you will see its name at the top, the blockchains you selected for it, and your accounts and balances.

4. Open the menu to create a new wallet.
To create a new wallet with the same seed phrase, which is encrypted inside Emerald, we need to open the menu, which is at the top right of Emerald.

5. Of the four options, select "Create wallet".

6. Then, select "Use current seed".
In the next page you will see the original 6 options to create wallets and a new option at the top that reads "Use current seed". Select that option.

7. In the next page you will see a space to label your new wallet.
In this case we named it "Wallet 2", but you can use the label that is best and useful for you!

8. When we press "NEXT", we are going to see the options to enable networks for this particular wallet.
You can select the blockchains you desire. For this example we enabled the three cryptocurrencies Emerald supports for now (in the future you will be able can add more!).

9. Emerald will ask you to enter your global password.
When we press "NEXT", for your security, Emerald will ask you to enter your global password for Emerald again to make sure it is you creating this new wallet.
Then, we have to press "UNLOCK".

10. Emerald will show you the HD Paths used to create your new accounts.
This is not secret info because they are industry standards, but it is important to know that the path 1 was used for this wallet to create different accounts than in your initial wallet, which used path 0.

11. Your new wallet was created.
When we press "NEXT" we will see that your new wallet was created using the same seed of 24 secret words as before.
In this step Emerald will show you the new wallet ID, which is also not secret info, it is just to identify the wallets inside Emerald.
Press "OPEN WALLET".

12. Now you can see your new wallet!
You will see the name on top, with the blockchains enabled, and your new accounts and balances.

13. And, when you go back to the Emerald home you will see your list of wallets.

14. We created more wallets as an example.
We created from Wallet 1 through 5 to show that you can have many wallets with labels inside Emerald, with different blockchains and accounts.

In our next tutorial we will show examples of how this feature may be very useful!
Thank you!
To start using Emerald, download it here: https://emerald.cash/download


