


Tutorial: Creating a new Ethereum account on Emerald Wallet using your Private Key JSON file.
You can watch this tutorial here:
1. First download Emerald Wallet to your computer and open it.
Download Emerald here: https://emerald.cash/download
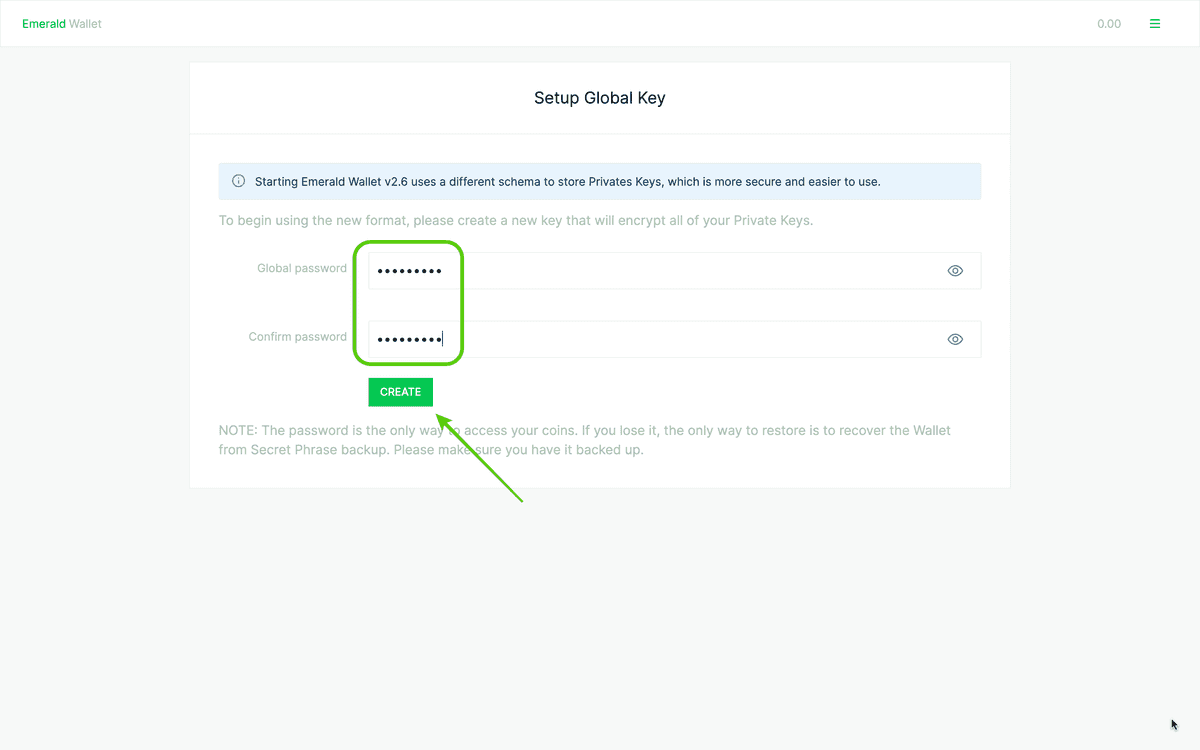
2. Set up your password or global key for Emerald.
If this is your first time using Emerald it will ask you to set up a global key or password for your Emerald app.
Once you enter a strong password, press "CREATE".
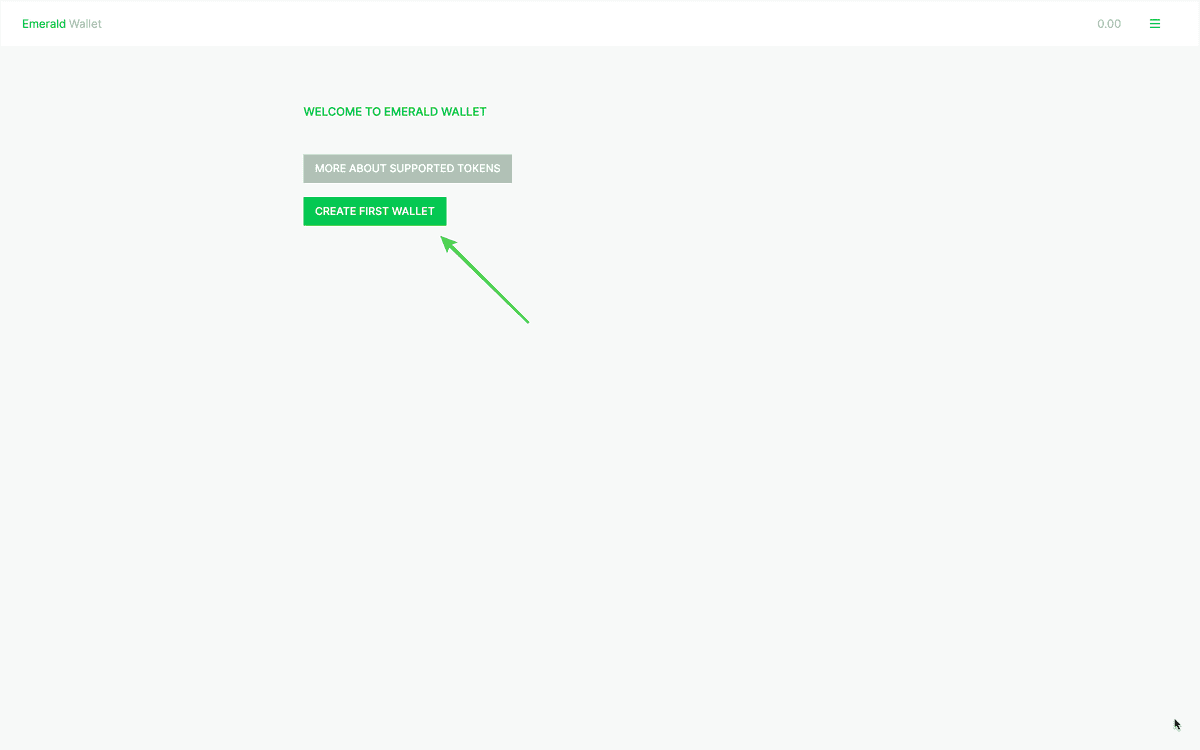
3. Because you may not have any wallets yet, Emerald will ask you to create one.
Press "CREATE FIRST WALLET".
4. Select the option "Import existing Private Key JSON file".
Of the 6 options to create new wallets, select the one that says "Import existing Private Key JSON file".

5. Label your new wallet.
Because you can have many wallets inside Emerald to organize your finances, it will ask you to label this new wallet.
For this example we named it "Private Key JSON file", but you can use the name that is better for you.

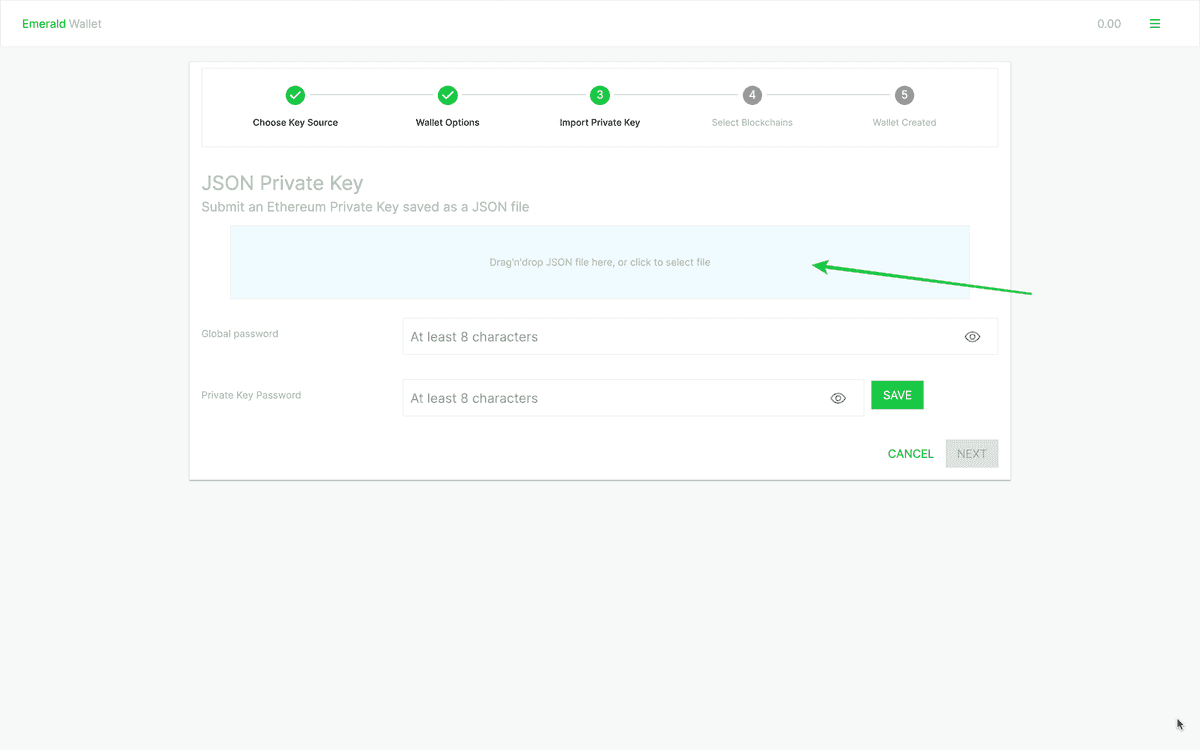
6. Upload your Private Key JSON file.
When you press "NEXT" you will see that Emerald will ask you to upload the Private Key JSON file of your Ethereum account.
Click there to select your file.
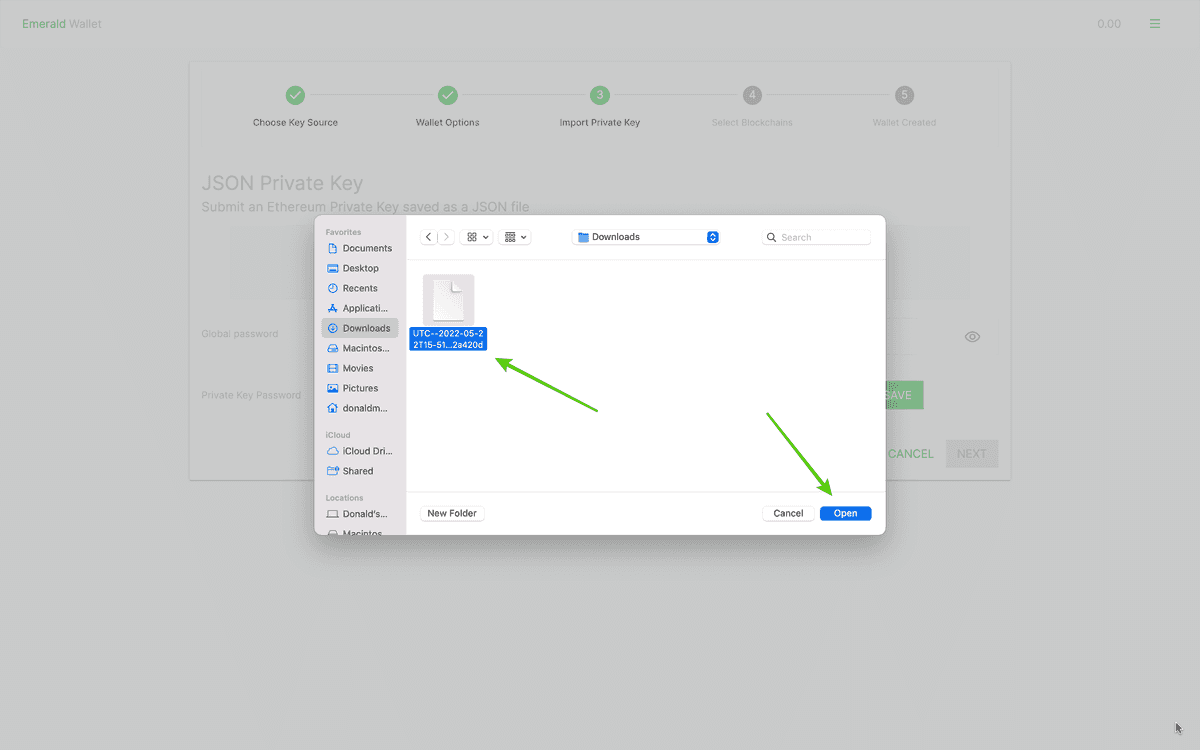
7. In the next step you will select the JSON file from your computer and press "Open".
In this example, the file is in the "Downloads" folder on my machine.
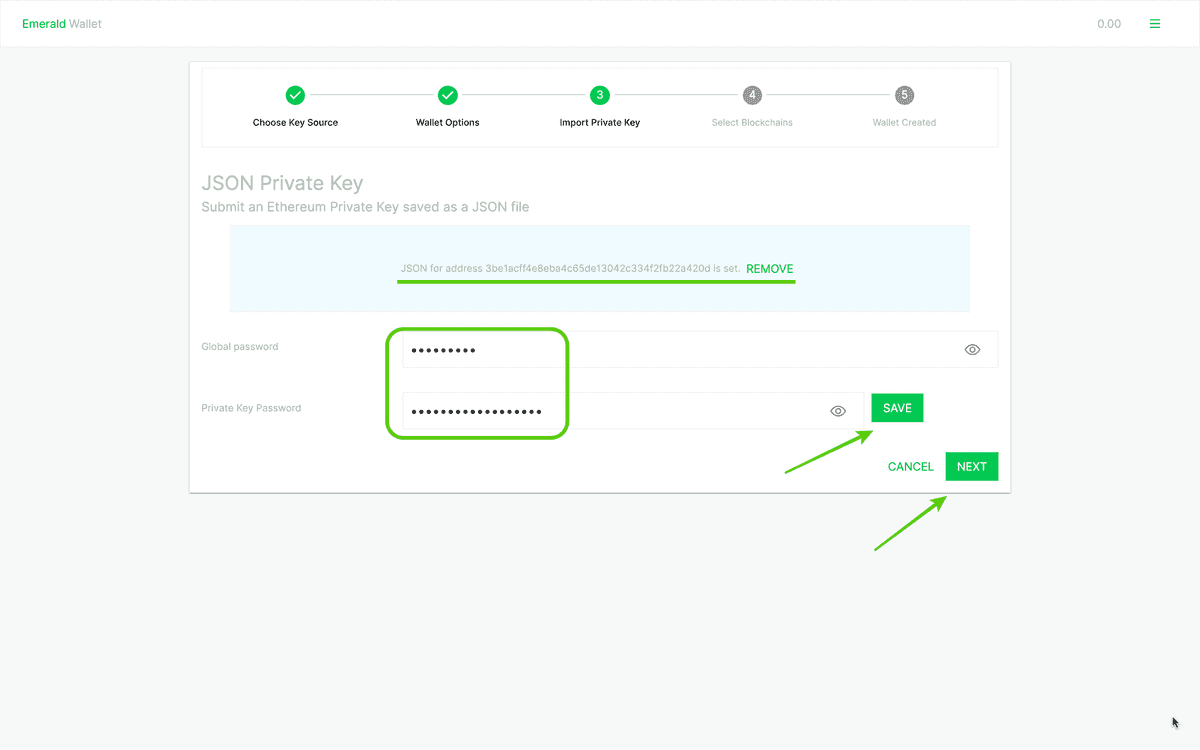
8. When Emerald recognizes your JSON file, it will identify the Ethereum account and show it.
Then, you need to enter both your Emerald password (the one you set up at the beginning) and the password of the JSON file.
Then, press "SAVE" and "NEXT".
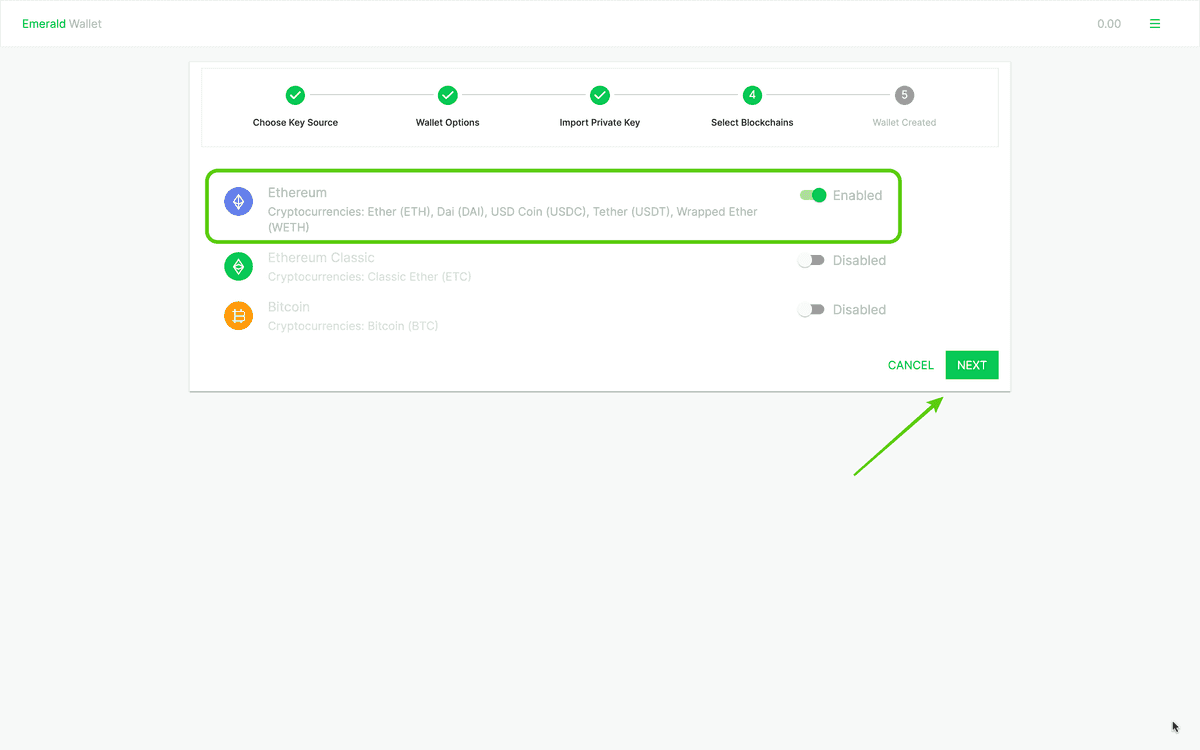
9. Enable Ethereum for this wallet.
In the next step Emerald will ask you to select the blockchain you want to enable for this wallet.
Because we want to set up an Ethereum account using our JSON file, we will select Ethereum and press "NEXT".
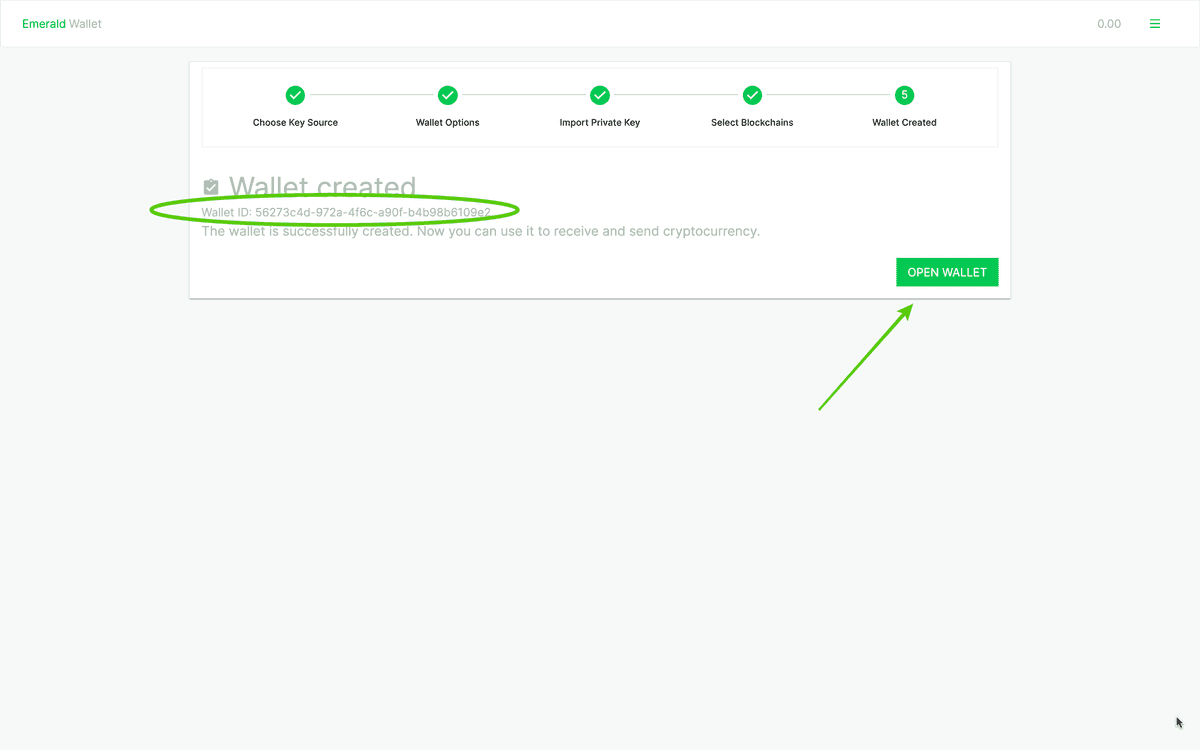
10. Success! Your wallet is created!
Now Emerald will show you the ID of the wallet, but you do not need to write it down. It is just a way of identifying your new wallet because you may have several wallets inside Emerald.
Press "OPEN WALLET" to go to your wallet.
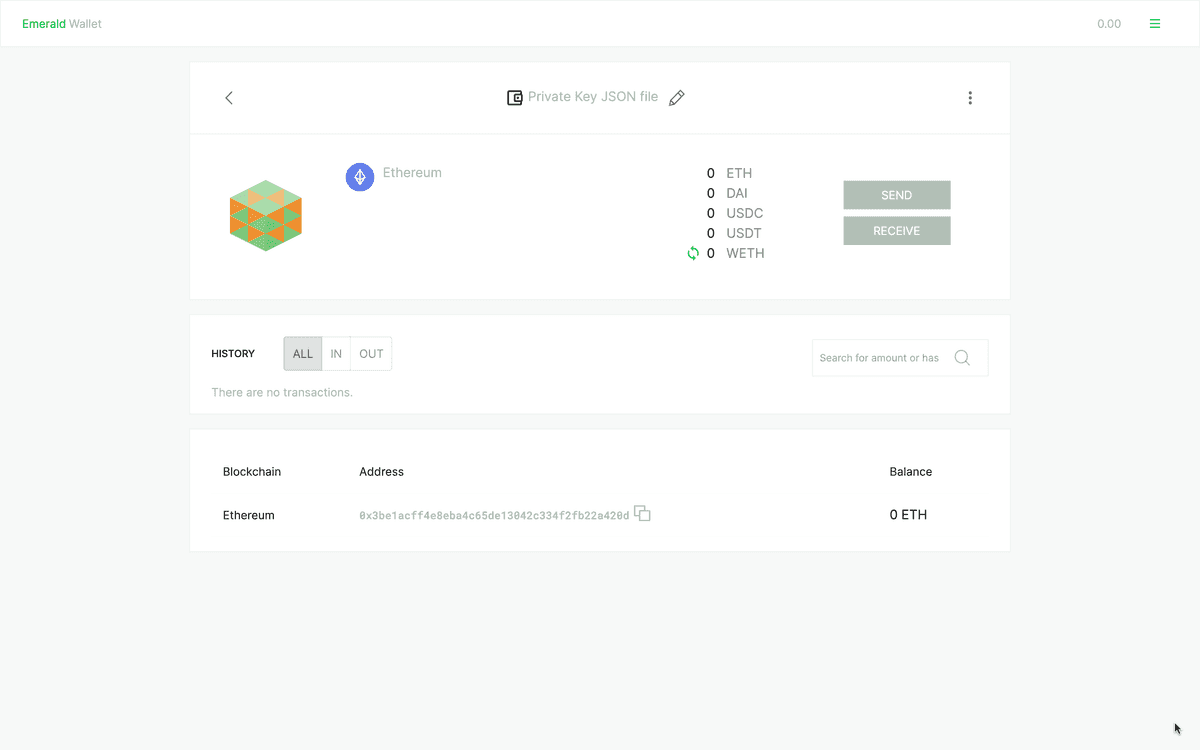
11. Check out your new wallet.
As you can see, your new wallet is created with its name at the top, the Ethereum blockchain enabled, and the account imported from the JSON file with its balance below.
12. And, when you go to the Emerald home you will see your first wallet at the top.
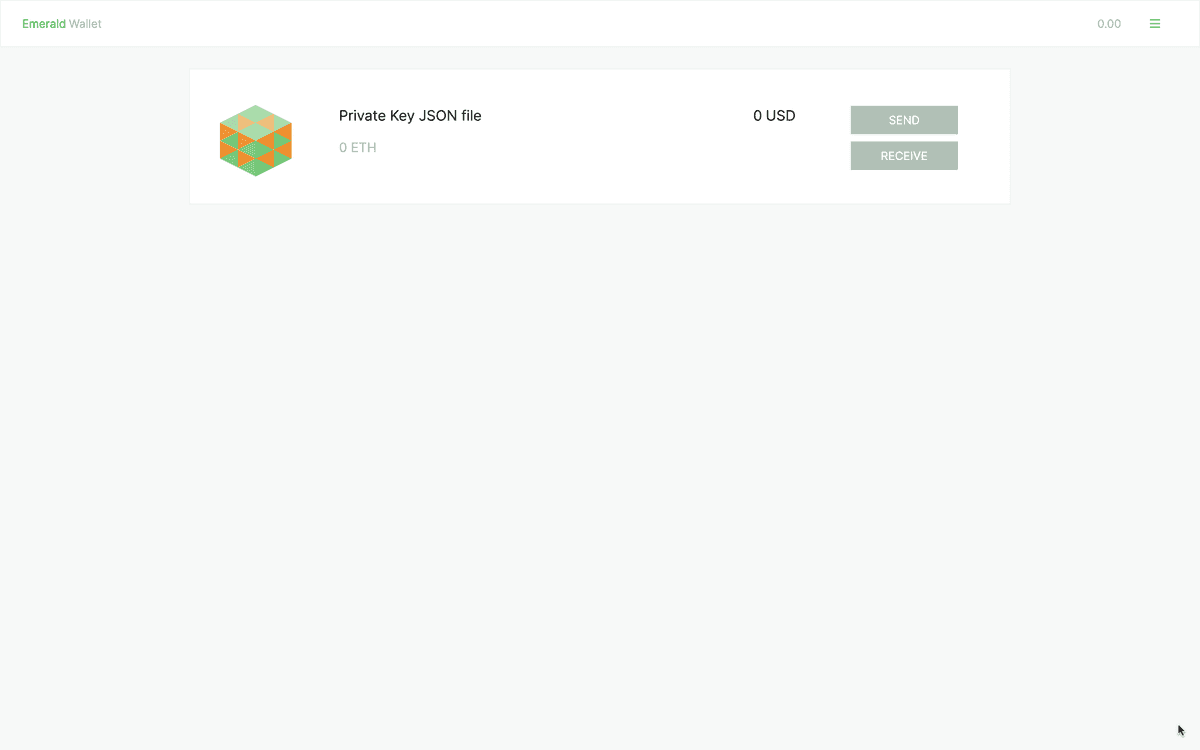
Thank you for following this tutorial!
To start using Emerald, download it here: https://emerald.cash/download


