Tutorial: Creating a new wallet on Emerald using Ledger Nano.
You can watch this tutorial here:
1. Start by downloading Emerald Wallet.
Download it here and open it: https://emerald.cash/download

2. The first thing you need to do is to set a global key or password for your Emerald Wallet.
This is to use the app in general and is necessary for different functions within Emerald Wallet:

3. Once you established your 8 character password press "CREATE".
This will setup the app and give you control of your Emerald Wallet in general.

4. You will see a welcome message and then you need to create your first wallet.
Press the button "CREATE FIRST WALLET":

5. Of the six options to create wallets, select the first one which says "Create from Ledger Nano".

6. The next step is to give a name or label to your wallet, as you can have several wallets, so it is easier to identify them!
This is done in the blank space that says "Label":

7. For this tutorial we are going to name our wallet "Ledger Wallet".
But, you can give it the label you wish, like "income", "payments", "salaries", "tax reserves", or any name that is useful for you. Once you labeled it, press "NEXT":

8. Now Emerald is ready to create your new wallet using Ledger Nano.
It will wait for you to connect your hardware wallet to your computer. Please connect and unlock your Ledger Nano X or S in this step.

9. To connect your Ledger Nano, get the hardware wallet and the cable and plug them to your machine.
In this example we are using a Ledger Nano S. (The white extension in this one is for a Mac, but you can do this on Mac or Windows!)

10. When you connected your Ledger Nano to your computer, then enter the pin to unlock it.

11. Emerald will immediately recognize that your Ledger is unlocked and will go to the next step.
We support three blockchains for now, and those are Bitcoin, Ethereum, and Ethereum Classic. Select the coins you want to manage in this wallet by enabling them:

12. Once the coins are enabled, press "NEXT".
In our example we enabled Bitcoin. NOTE: For security reasons, once you set up the coins for this wallet, you cannot disable them. However, you may enable more coins in the future.

13. In the next step, Emerald will ask you to open your Bitcoin app on Ledger Nano.
This is to be able to generate your account.
If you enabled more blockchains it will ask you to open the apps for each successively.

14. To open your BTC app on Ledger, go to your hardware wallet, then select the Bitcoin app.
After this, press the two buttons of the device to activate it.

15. In the next step, Emerald will generate your account and show you an HD Path.
This will happen for each coin in your new wallet, in this case Bitcoin. This may be important to use the same path if in the future you need to generate your account/s again. Press "NEXT":

16. SUCCESS!! Your wallet using Ledger Nano has been created!
Press "OPEN WALLET" to see your account/s:

17. And voila!! The wallet is created and ready to go!
You will see the label you used at the top, the blockchains enabled (Bitcoin in his case), and the accounts and balances below.

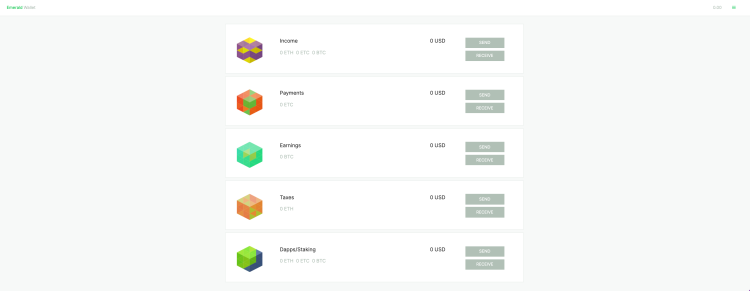
18. And, when you go to the Emerald home, you will see your new wallet to have easy access from there.
Thank you for following this tutorial!

To start using Emerald, download it here: https://emerald.cash/download


