


Tutorial: Creating a new Ethereum Classic account on Emerald Wallet using your Private Key JSON file.
You can watch this tutorial here:
1. First download Emerald Wallet to your computer and open it.
Download Emerald here: https://emerald.cash/download
2. See previously created Ethereum wallet on the home.
Because in the previous tutorial we already created an Ethereum account using our JSON file, you will see that wallet on the Emerald home.
To create a new Ethereum Classic account in a new wallet go to the menu on the top right of Emerald.

3. Of the 4 menu options press "Create wallet".

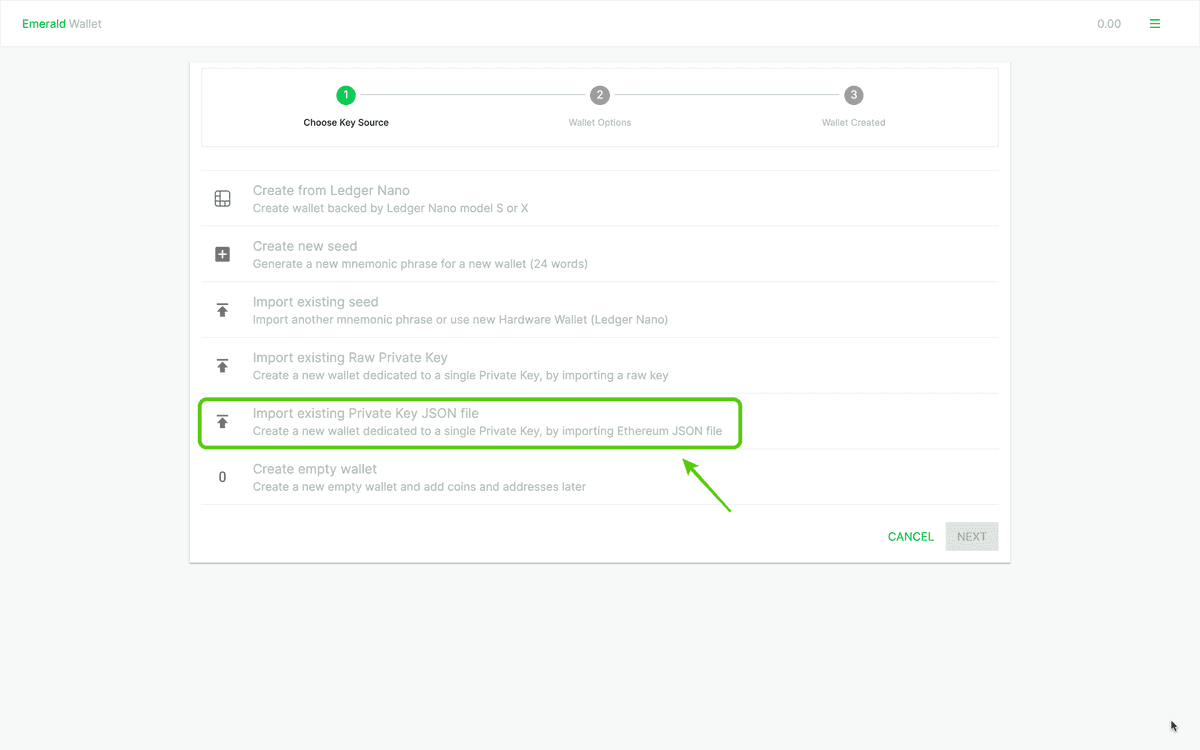
4. Then, select "Import existing Private Key JSON file".
In the next screen you will see 6 options to create wallets.
Press on "Import existing Private Key JSON file".
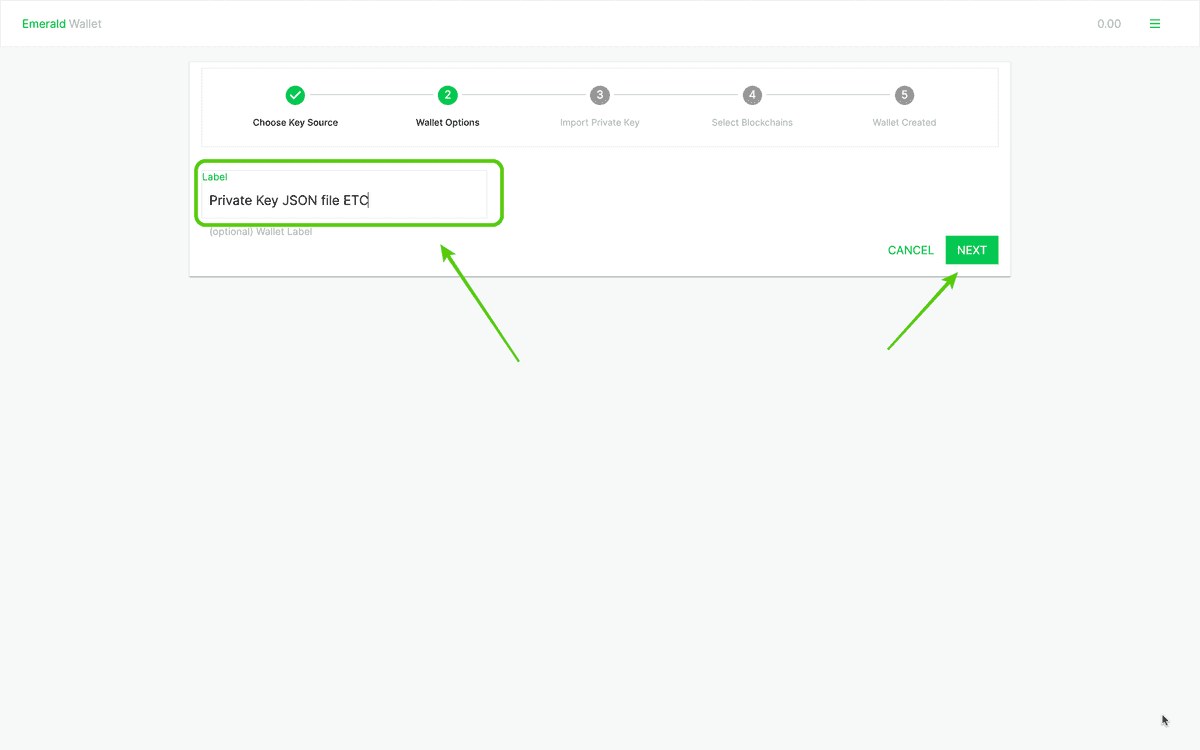
5. In the next step Emerald will ask you to name this new wallet.
This is because you may have many wallets inside Emerald.
For this example we labeled it "Private Key JSON file ETC".
Now press "NEXT".
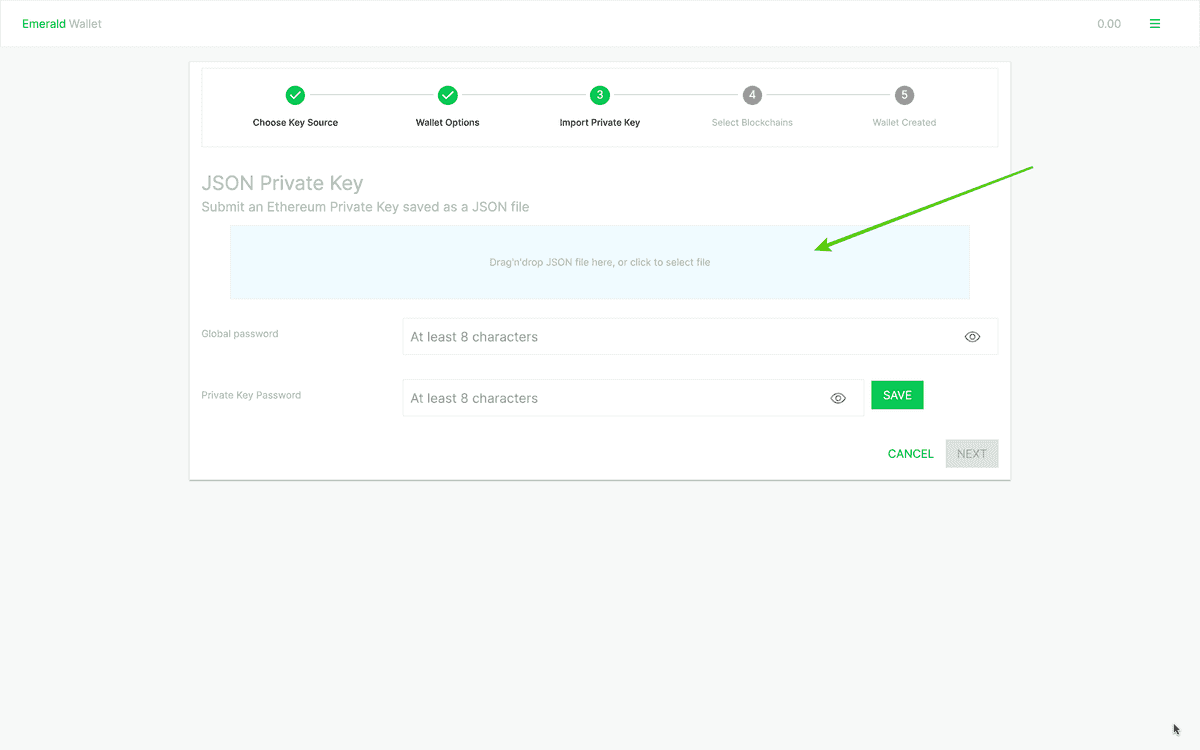
6. In the next step Emerald will ask you to upload your JSON file from your computer.
Press on that area.
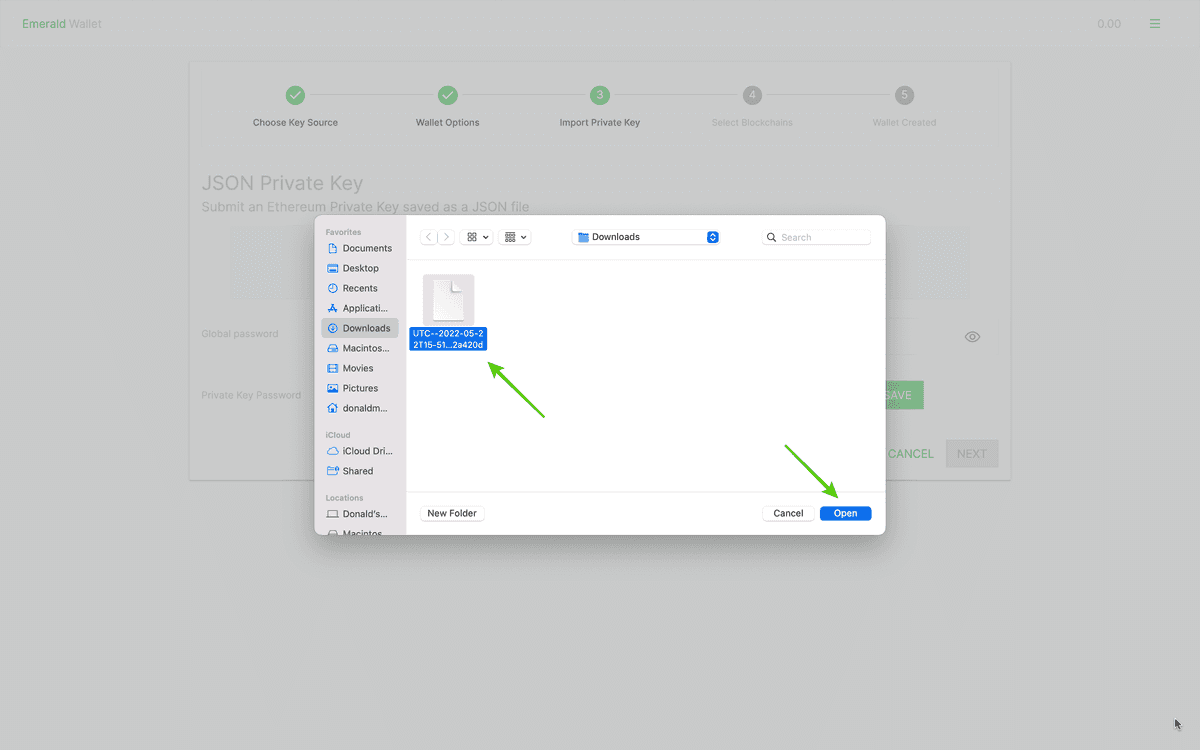
7. Select your Private Key JSON file from your computer.
In our case, it is located in the "downloads" folder.
Then, press "open".
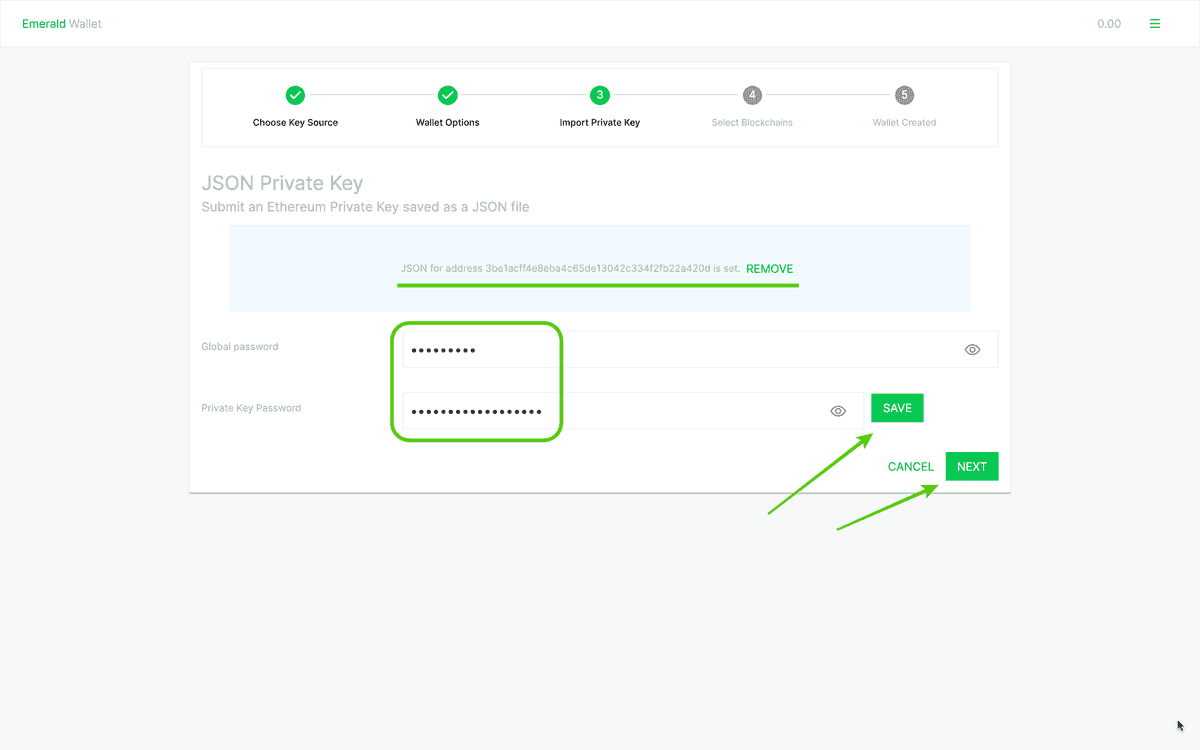
8. Enter your Emerald password and the password to your JSON file.
In the next screen, you will see that Emerald has recognized your account. Also, that it's the same one as Ethereum. This is because Ethereum Classic is compatible with ETH.
In this step you have to enter your Emerald password and the password to your JSON file.
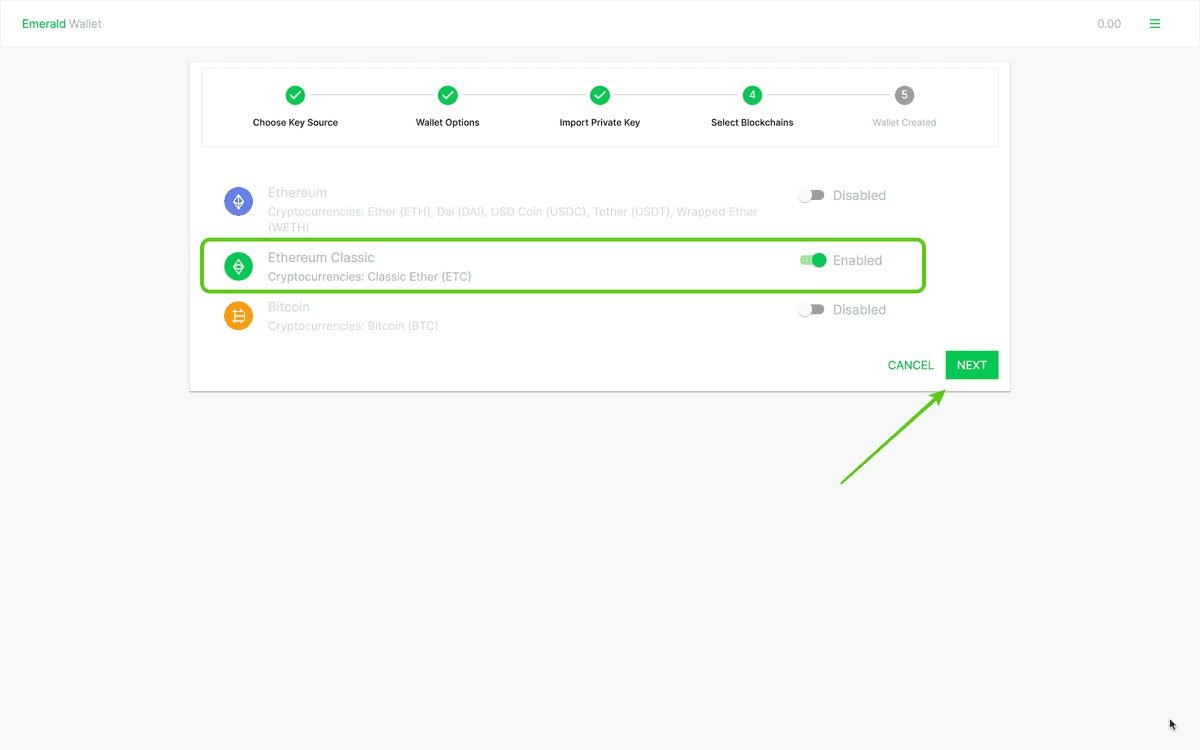
9. Enable Ethereum Classic.
When you pressed "SAVE" and "NEXT" in the previous step, Emerald will then ask you to enable the blockchains you wish to use in this particular wallet.
Because we are going to set up ETC, then we selected that blockchain.
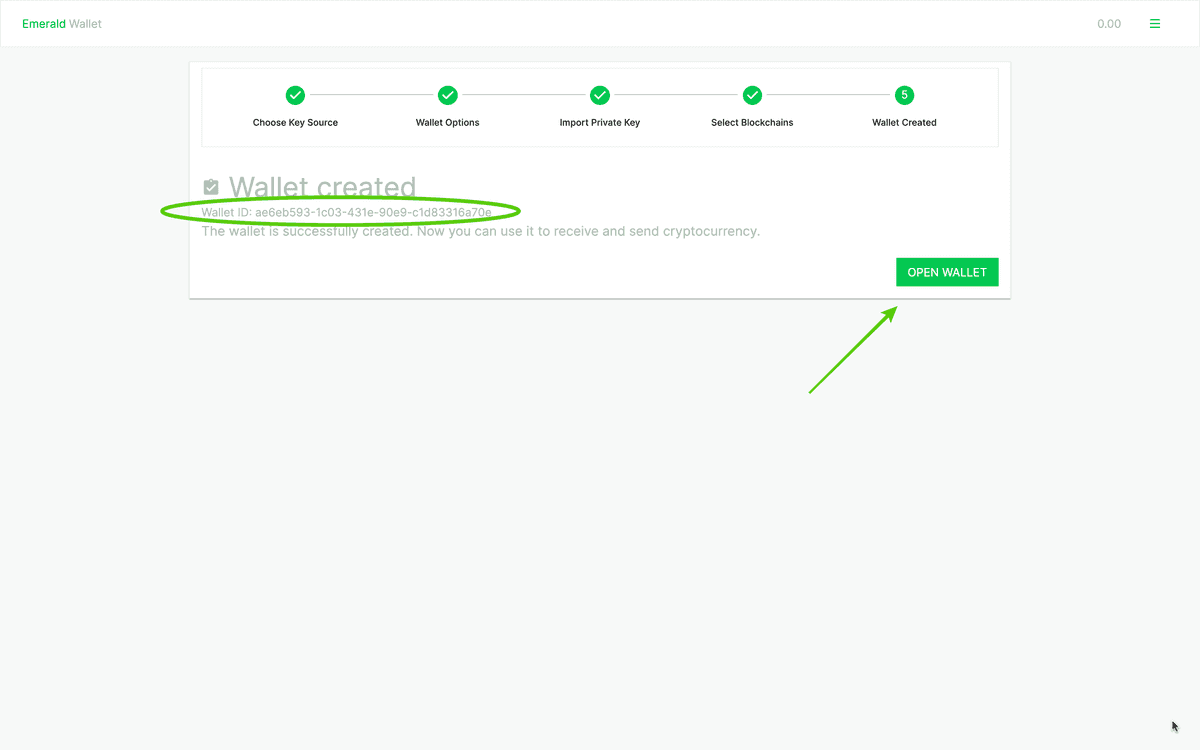
10. And voila! Your new wallet with an ETC account has been created!
Emerald will show you the wallet ID, but that is just for identification purposes because you can have many wallets inside Emerald. No need to write it down.
Press "OPEN WALLET" to go to your new wallet.
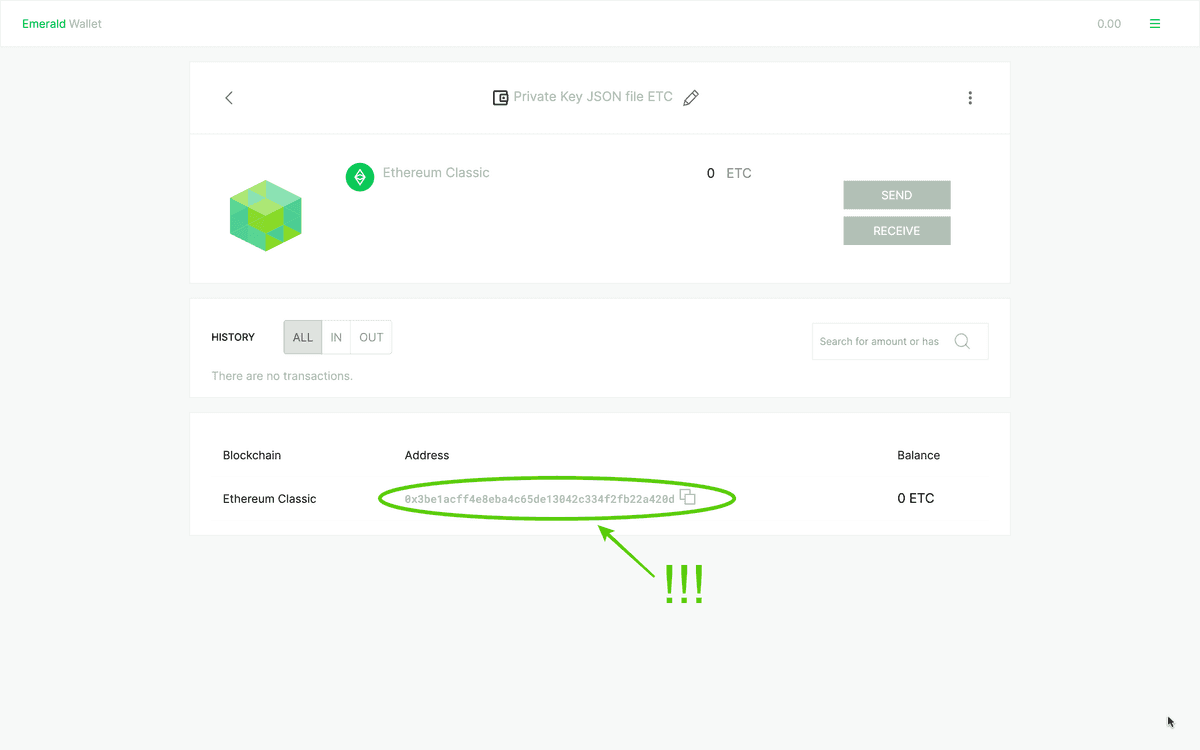
11. Check out your new wallet with an Ethereum Classic account.
When you see your wallet you will notice that the account in ETC is the same as the account in your ETH wallet. This is because we used the same JSON file and both networks are fully compatible.
You will see ETC is enabled for this one and the name at the top.
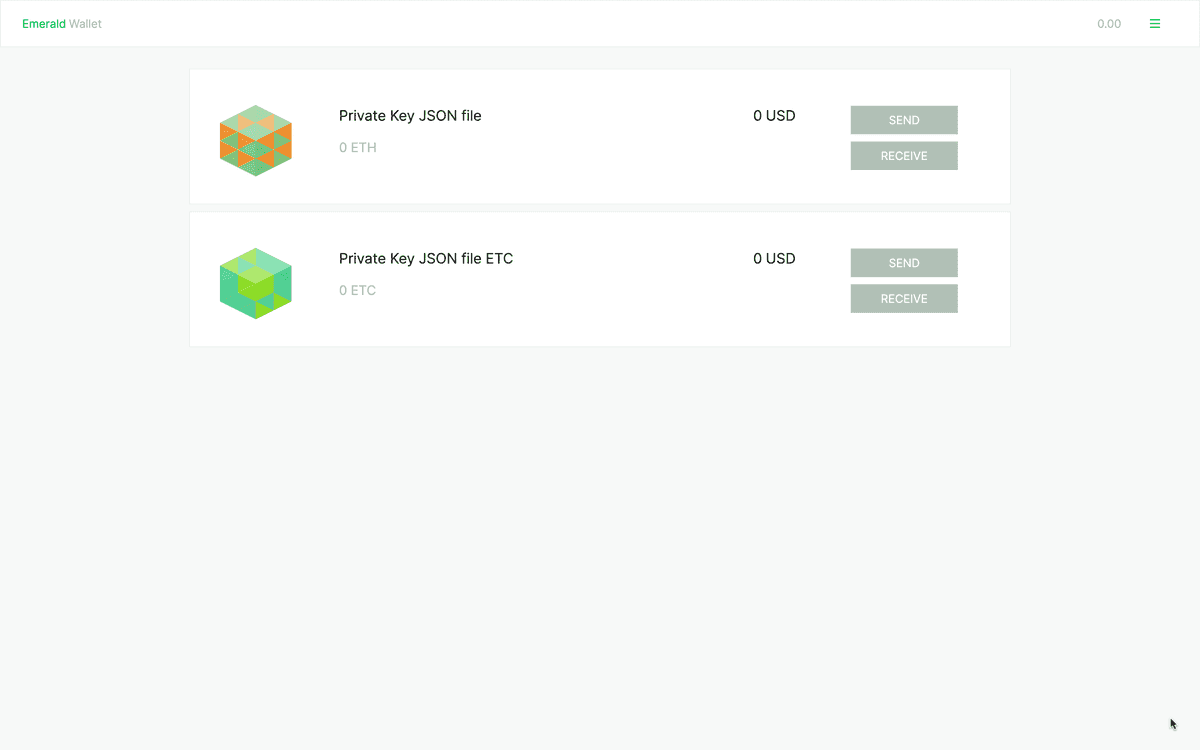
12. See your wallets on the Emerald home.
And when you go to the Emerald home, you will notice that both your Ethereum and Ethereum Classic wallets are listed and ready to use.
Thank you for following this tutorial!
To start using Emerald, download it here: https://emerald.cash/download


